Burn images using GNOME Disks
Burn images using GNOME Disks
→ → Burn images using GNOME Disks
Burn images to SD card/USB drive using GNOME Disks
Follow instructions to download and verify the PureOS ISO image.
WARNING: This action will wipe all data on your SD Card/USB drive!
- Open GNOME Disks and navigate to your USB drive:
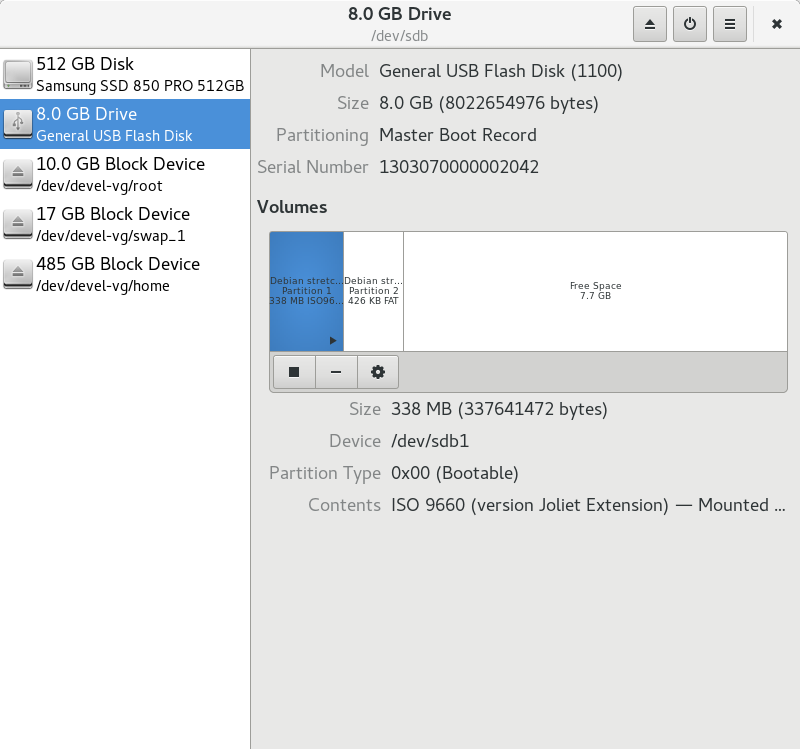
- Then press the menu button (in the upper right corner) and choose Restore Disk Image. A pop-out window with option to choose which image will open:

- After you press Start Restoring it will ask you for your password. Wait until it finishes and your image is written on your USB drive.
- To boot from an SD card with a new image you'll need to insert your SD card and restart the laptop. At the boot screen (with the Purism image) you'll want to hit the escape button (top left on the keyboard) which will bring you to a menu of different drives you can boot from. Select the drive you need, in my case it was "USB MSC Drive Multiple Card Reader 1.00"
- Follow the prompts as the new image boots.
Tags
None
Subscribers
None
- Last Author
- mladen
- Last Edited
- May 5 2020, 13:09